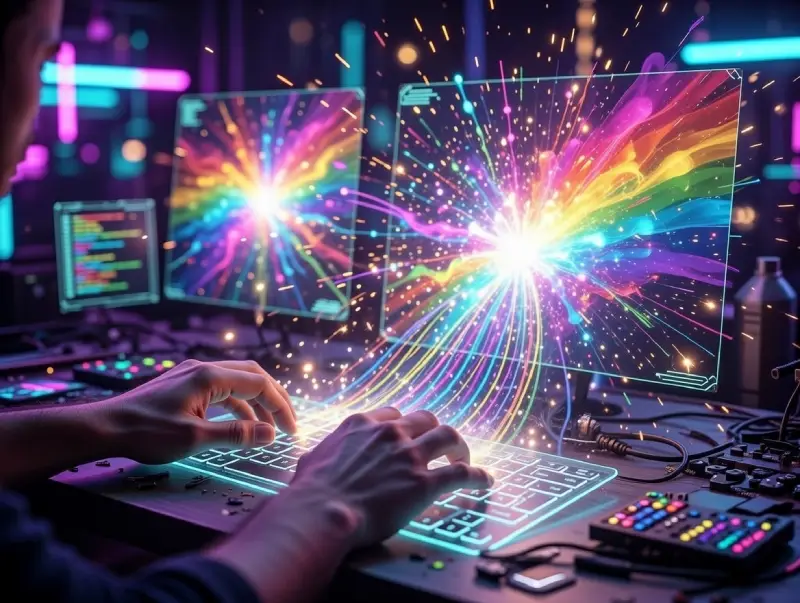
Picture this: you scribble a chaotic cyberpunk alley on a napkin—rain, neon, chaos—and seconds later it explodes into a razor-sharp, movie-poster-worthy scene on your screen. That jolt is exactly why more people want to create your own AI image generator right now. I’ve spent years knee-deep in generative models, tweaking weights at dawn and cursing bad checkpoints. In 2026 the craving for personal tools is insane—open-source frameworks power roughly 80% of AI art because creators demand control, privacy, no watermarks, no limits. Tired of cookie-cutter outputs? This guide shows you how to create your own AI image generator that’s truly yours, mastering prompt engineering and running your own open-source beast along the way.
Table of Contents
The 2026 Tech Stack: Choosing Tools to Create Your Own AI Image Generator
You write the perfect prompt. Then bam—blurry text. Ugly watermark. Soul-crushing. That exact moment is why creators in 2026 are finally building their own create your own AI image generator. Open-source is the new workbench. Stable Diffusion 3.5 still carves photorealism like a scalpel. But Flux AI models (especially Flux 1.1 Pro) are the undisputed kings of readable text inside images. Paid APIs? Fast. Shiny. Expensive. And they handcuff you. Latent Consistency Models (LCM) changed everything—turning slow renders into something almost alive. Local open-source isn’t just cheaper. It’s freedom.
Stable Diffusion vs. DALL·E: Free and Paid Breakdown
Numbers don’t lie. RTX 4070 or better + LCM runs Stable Diffusion 3.5 or Flux in 1–4 seconds. Zero subscription. Paid APIs? $0.04–$0.12 every single click. Queues. No fine-tuning. No metadata control. Want real power? ControlNet. IP-Adapters. Regional prompts. Custom LoRAs. You need ComfyUI or Diffusers to build text to image AI the way you actually think. Flux wins on clean text. Diffusion Pipeline optimization drops times under two seconds on new cards. Heavy use? Local wins. Every time.
Why Open-Source Reigns in 2026
Closed platforms bleed trust. Price jumps. Sudden bans. Privacy leaks. People got tired. Hugging Face stats scream it: open-source inference now crushes paid APIs four-to-one in real creative work. Flux arrived. Stable Diffusion stayed strong. Together they give you killer typography + endless LoRAs and ControlNets. All private. All yours. Whether it’s a beginner AI image creator tutorial or full custom AI art app development, the open source AI image generator path is no longer alternative. It’s the main road. Control wins. Always.
Core Tutorial: Step-by-Step Guide to Build AI Art App
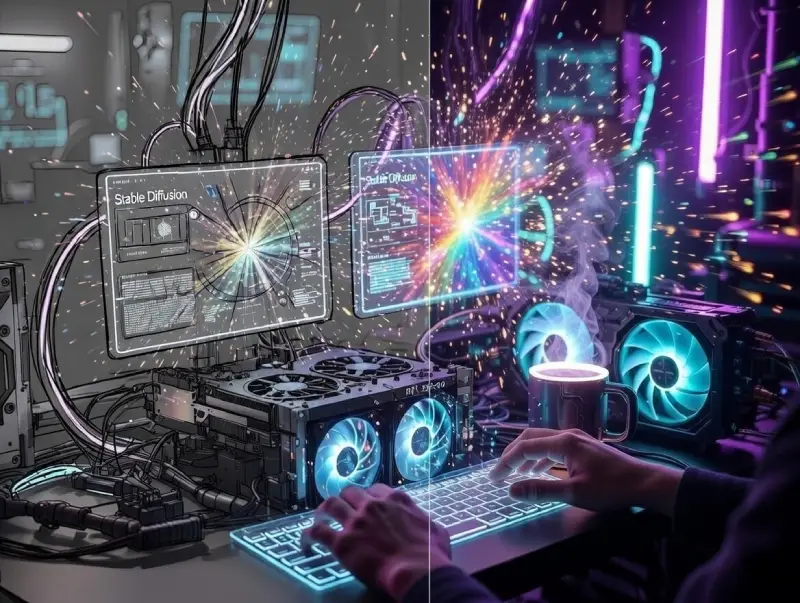
Building your own tool feels overwhelming at first. You stare at a blank terminal, wondering where to even start. But once you get the basics running, that moment when your first image appears—created exactly from your words—is addictive. This AI art generator tutorial breaks it into five clear steps. We’ll use Python, Hugging Face, and the best 2026 models to build AI art app using Stable Diffusion (or Flux). No fluff, just working code and hard-earned tips from real deployments. Let’s go.
Step 1: Setting Up Your Environment
Most people quit here—dependency hell. Don’t. Create a fresh Python 3.10+ environment (conda or venv). Then install the essentials:
pip install torch torchvision torchaudio --index-url https://download.pytorch.org/whl/cu121
pip install diffusers transformers accelerate
pip install huggingface_hub
Log in to Hugging Face (huggingface-cli login) for gated models. That’s it. You now have the foundation to how to make AI image generator. This beginner AI image creator tutorial part takes 5–10 minutes and saves days of pain later.
Step 2: Integrating Stable Diffusion Models
Time to bring the brain online. Load Stable Diffusion 3.5 or Flux with Diffusers:
from diffusers import DiffusionPipeline
import torch

pipe = DiffusionPipeline.from_pretrained(
    "stabilityai/stable-diffusion-3.5-large",
    torch_dtype=torch.float16
)
pipe = pipe.to("cuda")
For Flux (better text): swap to “black-forest-labs/FLUX.1-dev”. Add basic Diffusion Pipeline optimization right away—enable attention slicing and VAE tiling to avoid OOM errors. This is where you truly build text to image AI. Flux model integration is almost identical; just change the repo ID.
Step 3: Mastering Prompt Engineering
Garbage in, garbage out. Great prompts are 70% of the result. Start simple: “A cyberpunk city at night, heavy rain, neon reflections, cinematic lighting, ultra detailed”. Then layer: style (in the style of Syd Mead), quality boosters (masterpiece, best quality, 8k), negative prompt (“blurry, deformed, watermark”). Experiment. Save winners. This AI image generation prompt engineering skill turns okay outputs into jaw-dropping ones and unlocks your custom AI image generator API later.
Step 4: Generating and Refining Images
The magic moment. Basic generation:
image = pipe(
    prompt="your prompt here",
    num_inference_steps=28,
    guidance_scale=7.0
).images[0]
image.save("output.png")
Now add 2026 speed: swap to SDXL Turbo or attach LCM-LoRA for 4–8 step inference. Users type → image updates instantly. That responsive feel is what everyone expects now—real-time AI image generation. Combine with Latent Consistency Models (LCM) and you integrate AI for image generation that feels alive, not sluggish.
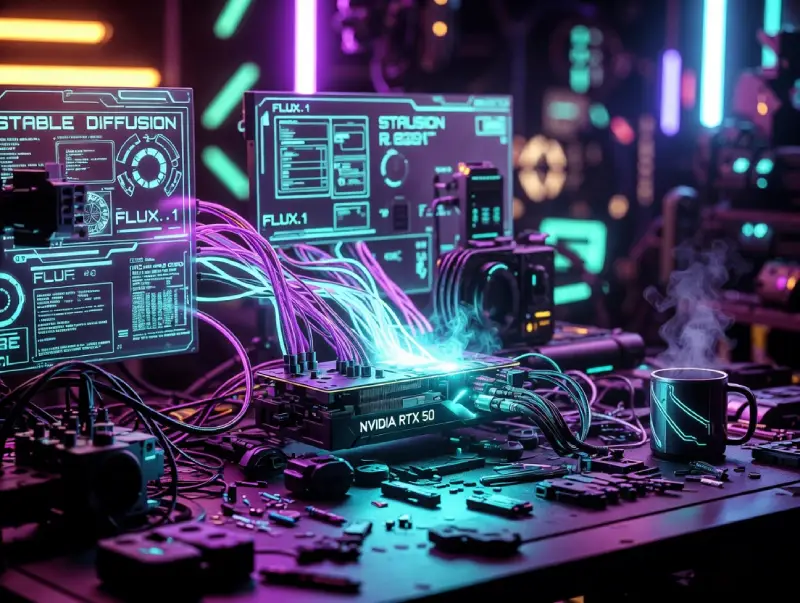
Step 5: Scaling with 2026 Hardware Acceleration (RTX 50-series & WebUI)
Your local beast is ready to grow up. Install Automatic1111 WebUI or ComfyUI for a proper interface. On NVIDIA RTX 50-series cards, enable TensorRT or FP8 quantization—generation drops to sub-second on Flux/LCM setups. Add Gradio or FastAPI for a simple custom AI image generator API. Deploy locally or on a home server. Suddenly you’re not just generating art—you’ve built a real tool. That’s create your own AI image generator done right: private, fast, yours forever. Hardware acceleration AI is no longer luxury; it’s table stakes in 2026.
Before/After Comparison: Elevating Image Quality
You hit generate and cringe. The pose looks wrong, the style generic, the image flat. That sinking feeling pushes people to go deeper and create your own AI image generator. The transformation is dramatic when ControlNet or LoRA enters the picture. A messy doodle becomes a polished masterpiece canvas. Basic results turn professional. Here are real AI image before and after examples that prove how much these tools elevate a DIY AI art generator workflow.
Using ControlNet for Precision
ControlNet acts like a pose coach for the model. Without it characters twist unnaturally. With it everything snaps into place. Before: “woman reading on a park bench” → floating hands, crooked spine, broken perspective. After: Add a simple OpenPose skeleton to ControlNet → perfect seated posture, natural arm weight, realistic shadows. When you create your own AI image generator and follow any solid stable diffusion tutorial, these AI image before and after examples with ControlNet show the biggest single leap in realism. One control map file. Ten times stronger composition.
LoRA Fine-Tuning: Custom Styles Made Easy
LoRA is your personal style injector. Base models are versatile but rarely match your exact taste. Train or grab a LoRA on 10–20 images of your desired look. Before: “cyberpunk samurai in neon Tokyo rain” → solid but bland, off-the-shelf anime vibe. After: Apply a 0.8 strength LoRA tuned on a specific artist’s work → razor edges, signature palette, dramatic mood lighting. Once you create your own AI image generator that supports LoRA, every output carries your fingerprint. When you build AI art app with this feature, the difference stops being subtle—it becomes ownership.
ControlNet gives structure. LoRA gives soul. Together they turn amateur trials into serious work in 2026. Add them early and mediocre becomes the exception.
Commercial & Ethical Edge: Navigating 2026 Challenges
Images look perfect, business is picking up—then reality bites: “Can I actually sell this?”, “What if an artist sues over style similarity?”, “Why is latency killing conversions?”. These are the sharp edges every serious creator faces in 2026. When you create your own AI image generator, control comes with accountability. Thankfully the ecosystem matured fast. Ethical practices and blazing performance are no longer nice-to-haves—they’re survival tools. Here’s how top operators handle the two thorniest issues right now.
Solving Copyright Bottlenecks
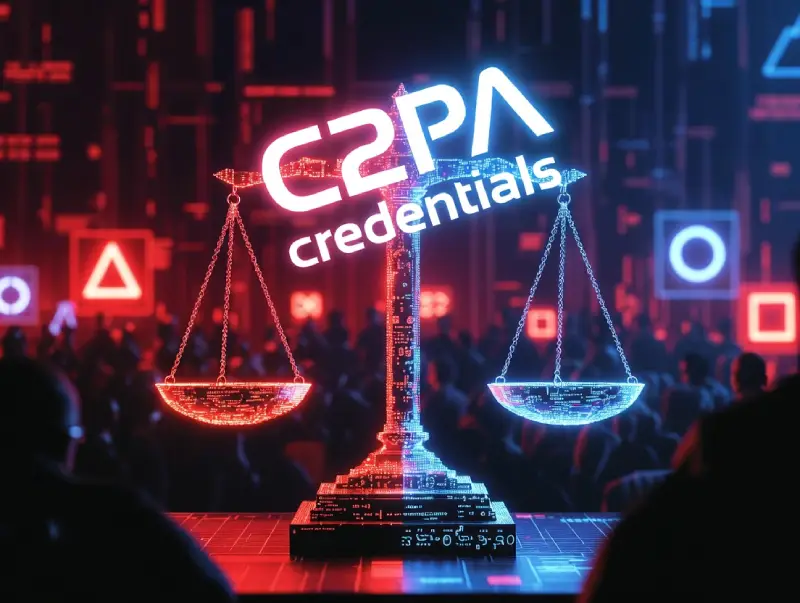
The nightmare scenario: a takedown notice or lawsuit lands because of training data or unlabeled outputs. To create your own AI image generator safely, prioritize clean sourcing—fair-use licensed sets, synthetic data, public domain only. Then make transparency non-negotiable: always embed C2PA Content Credentials metadata that tags every image as “AI-generated” with provenance trail. This meets C2PA standards, shields you legally, reassures clients, and aligns with ethical AI image generation requirements. Skip it and you risk everything. Do it and your custom AI image generator API stands strong in audits or court.
Boosting Speed for Commercial Use
Clients expect instant magic, not coffee-break delays. To create your own AI image generator that competes commercially, bolt on Latent Consistency Models (LCM) for 4–8 step runs. Stack Diffusion Pipeline optimization tricks—FP8 quantization, attention slicing, TensorRT acceleration on NVIDIA RTX 50-series—and sub-second outputs become normal. Throw in SDXL Turbo for that true real-time generation 2026 responsiveness. Closed tools (paid AI art tools comparison) are quick but costly and blind. Your local stack delivers unlimited speed, zero per-image fees, total ownership—exactly what high-volume or API work demands.
Conclusion
You’ve walked through the full path—from wrestling with messy setups to crafting images that feel truly yours. In 2026 the tools are sharper, the community larger, possibilities wider than ever. Whether experimenting for fun or building something commercial, the real win is control: no queues, no surprise fees, no forced generic results.